Contact us today to ask about our FREE remote Google imaging and/or on-site roofing quotes.
Top-Notch Service at a Fair Price
Call us today!
(778) 809-7663
Contact us today to ask about our FREE remote Google imaging and/or on-site roofing quotes.
Top-Notch Service at a Fair Price
Call us today!
(778) 809-7663
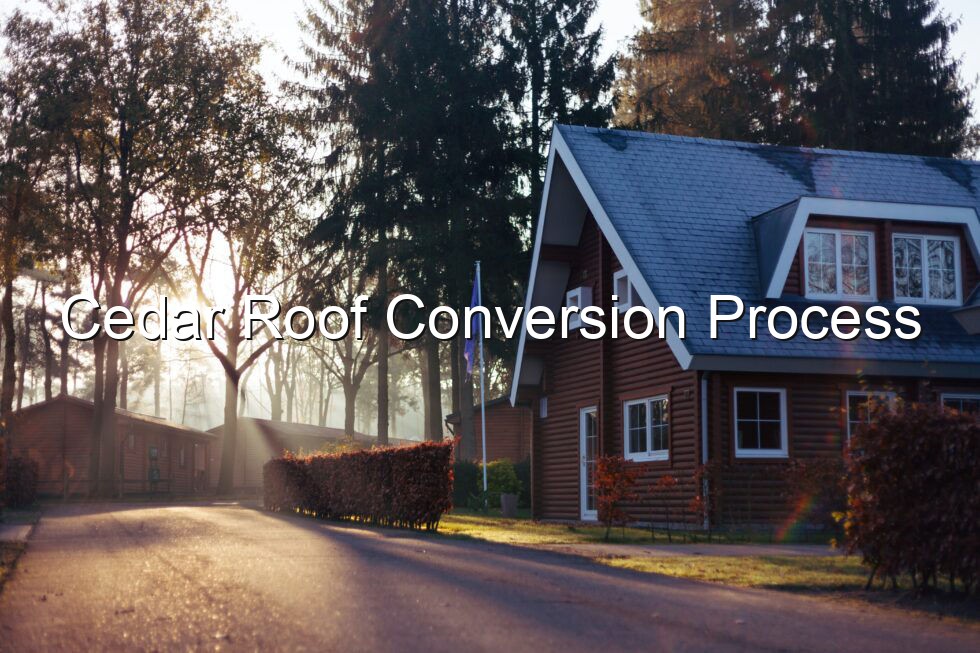
The cedar roof conversion process is a more complex procedure than the re-roofing procedure, having a few additional steps to ensure proper installation and the longevity of the roof.
Table of Contents
Before the work starts, all of the paperwork needs to be completed to protect both parties. This includes signing a contract, receiving the construction lien notices, finalizing the shingle selection for the homeowner’s home and setting up an estimated project start date.
Prior to the project starting, depending on the complexity of the roof, your roofing contractor may opt to have the materials and “staged” and a mobile dump bin on your property a few days before the project starts. Ask for this date, if you’re unaware or if it is an inconvenience for whatever reason.
Before embarking on the journey of converting your cedar roof to a different material, it's crucial to assess the current condition of the cedar shingles. Over time, cedar roofs may exhibit signs of wear, such as curling, cracking, or decay. If your cedar roof is showing significant deterioration, it might be an indicator that it's time for a conversion.
There are several reasons homeowners opt to convert their cedar roofs:
Project start to finish:
Before any tear off starts, we protect your home and make our work area safe for the team; by protecting your soon to be exposed attic space, protecting landscaping and plants, installing safety boards if the roof is steep, installing guard rails and scaffolding, moving yard furniture, protecting siding from scratches and damage, etc.
Transport tools and prepare the new materials strategically.
Tear Off Old Roof- Remove all of the old cedar shingles and debris (some of it may fall into the exposed attic), dispose of it in the dump bin.
Replace any skip-sheaths with signs of damage or mold, install a new plywood roof deck and dispose of any debris in the dump bin. Depending on the weather, we use tarpaulins to protect the exposed roof from absorbing excessive water. (extra step compared to re-roofing, we mentioned earlier)
Check the plywood deck is in good shape; replacing any plywood that has mold, is soft due to water damage, nailing in any loose plywood, etc. Ensuring that the roof deck is acceptable for nailing new shingles, while avoiding existing damage to the roof from worsening and unsightly bumps in the roof appearing weeks later (usually 1-2 weeks after work is done).
Once the roof deck is in good shape, roof underlayment is installed with added water and ice shielding to roof valleys and penetrations to avoid excess moisture to run-off. Cover the roof with roofing felt, which acts as a barrier between the shingles and the roof deck so that the shingles don’t stick. Clean up any debris and material waste, dispose of in the dump bin.
Once the underlayment is ready, the starter shingles, regular shingles and at the end, ridge and hip cap shingles are installed. During this step, to prevent future water issues and air circulation issues, roof flashings and venting components are installed. This involves properly fitting and sealing any plumbing, air vents, valleys, adjacent walls, skylights, etc. Cleaning up any debris and materials and disposing of in the dump bin.
Roof installation goes one section of the roof at a time until completion. Allowing for the roof to remain fully protected from wetter weather from damaging the roof at any time.
Dispose of any remaining roofing materials and use a magnetic roller to capture any remaining nails, staples or metal debris are completely removed. Leaving your home and roof cleaner than when we arrived.
Benefits of a cedar roof conversion are numerous, here are a few:
In the pursuit of enhancing your home's aesthetics, durability, and sustainability, converting a cedar roof to another roofing material can be a transformative decision. By following a systematic process, engaging with professionals, and considering the advantages, you can successfully transition to a roofing material that best suits your needs and preferences.
Cedar roof conversion involves replacing a cedar shake or shingle roof with an alternative roofing material, such as asphalt shingles or metal panels, to enhance durability and reduce maintenance requirements.
Cedar roofs can require frequent maintenance and repairs. Converting to a more durable material can extend the roof's lifespan and reduce long-term maintenance costs.
The process typically includes removing the existing cedar roofing, inspecting the underlying structure, installing underlayment, and then applying the new roofing material using appropriate techniques and fasteners.
Converting to a different material can offer improved fire resistance, better weather protection, and reduced susceptibility to pests and rot. It can also provide a new look for the house while requiring less maintenance.
Cedar roof conversion is a viable option for many homes with cedar roofing. However, factors like the home's architectural style, local climate, and budget should be considered when deciding on the best roofing material to convert to.